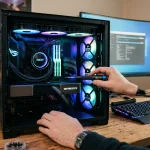
High-end gaming rigs are more than just a collection of expensive parts; they are precision-engineered machines that require a meticulous touch to maintain peak performance. We understand that whether you are pushing the limits of an Intel Core i9-14900KS or exploring the entry-level brilliance of an AMD Ryzen 5 system, dust is the silent adversary that compromises hardware longevity. At Telespace, we see firsthand how environmental factors can impact custom-built systems, and we believe that a regular cleaning schedule is the most effective way to safeguard your investment.
Essential Gear for the Task
Before opening your chassis, you must gather the right tools. A can of compressed air is the standard for dislodging debris from tight spaces, but for a more sustainable approach, an electric duster is an excellent alternative. You will also need:
- Microfiber cloths (to avoid lint and static)
- Isopropyl alcohol (90% or higher for cleaning thermal surfaces)
- Small soft-bristled brushes or cotton swabs
- A screwdriver set compatible with your case screws
Safety is paramount during this process. Always ensure your power supply is switched off and the cable is physically removed from the wall outlet. To prevent electrostatic discharge from damaging sensitive components like your DDR5 RAM or NVMe storage, work on a non-carpeted floor and consider using an anti-static wrist strap.
The Art of Airflow Management
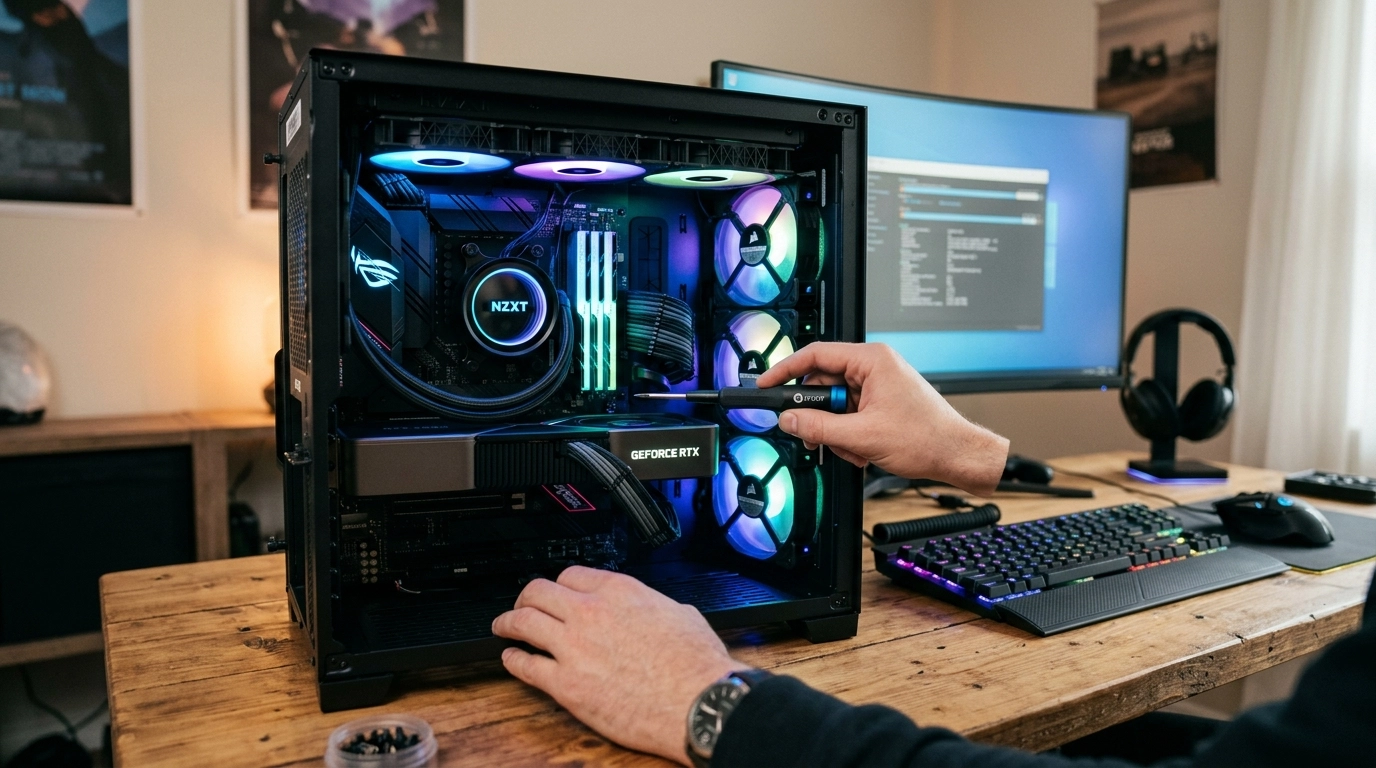
Most of the debris in a PC accumulates around the intake fans and filters. If your system uses a high-airflow case like the Antec NX series or a panoramic DeepCool CH560, the mesh filters will likely have trapped a significant amount of “fuzz.” Remove these filters and wash them with warm water, ensuring they are bone-dry before reinstallation.
When using compressed air on fans, always hold the blades in place with a finger or a piece of tape. Allowing a fan to spin freely at high speeds from the force of compressed air can generate a back-current that may damage the fan header on your motherboard. Clean each blade individually with a microfiber cloth to remove the sticky film of dust that air alone cannot dislodge. [LINK-PILLAR:Maintaining a consistent thermal environment within the chassis is vital because even a minor reduction in internal temperatures can prevent the automatic downclocking of your processor during heavy loads.]
Deep Cleaning the GPU and Heatsinks
The graphics card is often the centerpiece of a gaming build, such as the MSI GeForce RTX 4070 Ti SUPER or the NVIDIA RTX 4090. Because these cards are often mounted horizontally, their backplates and shroud fins become dust magnets. Use short bursts of compressed air to clear the heatsink fins. If the dust is caked on, a soft brush can help loosen it.
If your CPU is cooled by a Liquid Cool AIO or a high-performance air cooler like the Antec Neo 30, the radiator fins require special attention. Dust buildup here acts as an insulator, trapping heat and forcing your fans to work harder. Blow air through the radiator from the inside out to push the debris away from the center of the case. Routine physical inspections of these cooling pathways ensure that your hardware does not have to struggle against thermal resistance to maintain its factory-rated clock speeds.
Addressing the Motherboard and Storage
The motherboard is the nervous system of your PC, and dust settling on the PCB can occasionally cause minor electrical issues or hold heat against VRMs. Use compressed air to blow out the PCIe slots and the areas around the CPU socket. While you are there, check your NVMe slots. High-speed Gen4 and Gen5 SSDs generate significant heat, and a layer of dust on their heatsinks can lead to thermal throttling during large file transfers.
For those using systems with extensive RGB lighting, like the Corsair iCUE or Lian Li builds, cleaning the glass panels is the final touch for aesthetics. Use a dedicated glass cleaner applied to a cloth first—never spray directly onto the PC. This ensures that the internal light show remains crisp and vibrant without any streaks or smudges obscuring the view of your high-performance components.
Cable Management and Final Reassembly
As you prepare to close the case, take a moment to inspect your cable routing. Over time, cables can shift, potentially obstructing airflow or even leaning against moving fan blades. Re-securing these with zip ties or Velcro straps not only looks better but improves the overall efficiency of your cooling system. A well-organized interior allows for unobstructed air paths, which is a fundamental requirement for achieving the highest possible frames per second without requiring any hardware upgrades. Once everything is plugged back in, do a quick visual check to ensure no tools or loose screws were left inside. Reconnect your peripherals, flick the PSU switch, and boot the system. You should notice a more consistent fan profile and, in many cases, a decrease in idle temperatures across your CPU and GPU.
Preserving Your Digital Sanctuary
A clean PC is a reflection of a gamer who values precision and reliability. By committing to this process every three to six months, you extend the life of your components and ensure that your system performs exactly as the manufacturers intended. We take pride in building systems that stand the test of time, and these maintenance steps are the key to keeping those builds in peak condition. At Telespace, we are always ready to assist with professional upgrades or deep-cleaning services if you prefer a technician’s touch, ensuring your journey through the digital world remains fast, efficient, and visually stunning.